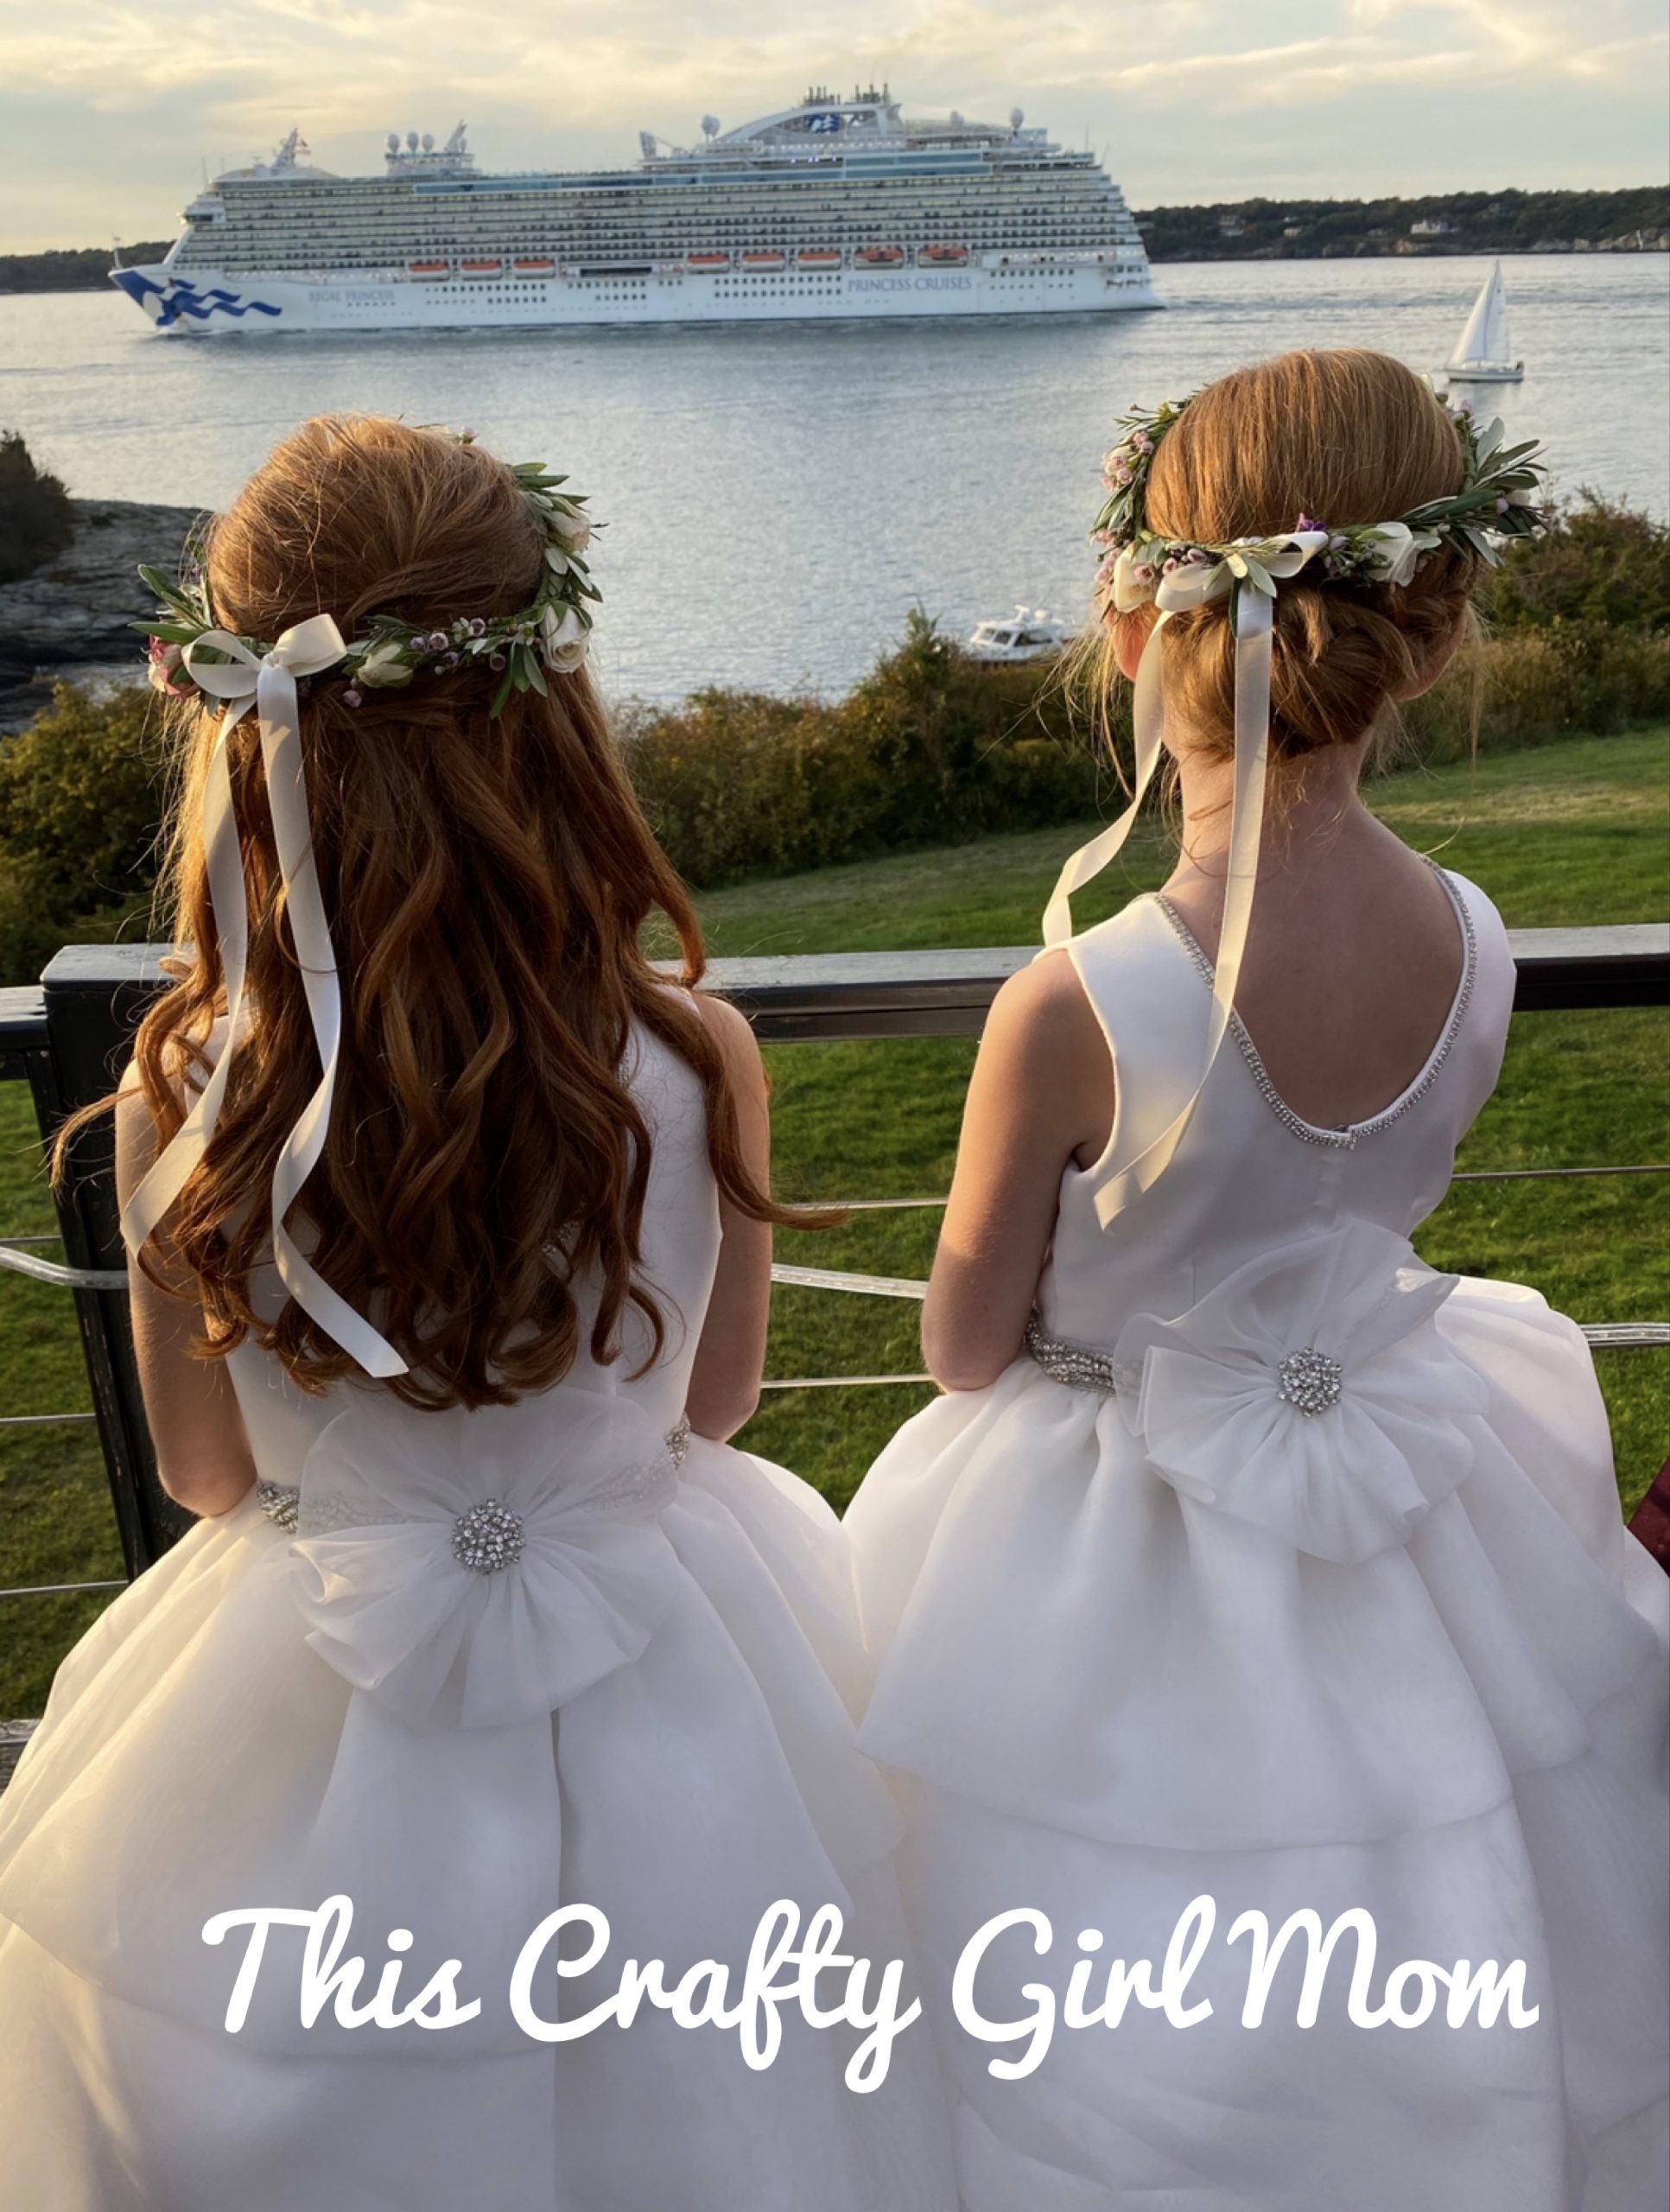
Fairy Crowns
Since my daughters couldn’t have a birthday party this year, all of of their friends drove by and waved to help them celebrate. It was so wonderful to see everyone, even if it was from a distance. My daughters wanted to get dressed up for the occasion and decided to make fairy crowns. Scroll down to see how they made their crowns.
MATERIALS
Paper flower blossoms
Artificial ivy garland
Ribbon
HOW TO
Start by cutting the artificial ivy garland. 22” worked well for my daughter. Overlap the ends around 3 inches to form a circle.

Choose the ribbon you would like to use and tie a knot with it around the crown. How much you need will vary based on the size of your child’s head.

Begin wrapping the ribbon around the crown leaving gaps so you can see the ivy peeking through. When you have wrapped the entire crown, tie a second knot right by the first and cut off the extra ribbon.

Now it is time to tie long ribbons to the back part of your crown. We tied the long ribbons around the knotted section so they are well hidden. You can make your ribbons as long or as short as you would like.

Here is where you can get even more creative. Add whatever you would like to your crown. One of my daughters choose to add little flowers to her crown while the other just wanted ribbon. We used hot glue to secure the flowers and it came out beautifully.

It is as simple as that! I hope you have fun making these crowns with your your children. Let me know down below what you used to make your crowns. Add pictures if you can.
*Adult supervision is required*